September 8, 2015Comments are off for this post.

C + C

Earlier this year, I had the pleasure of working with a couple who have serious style + killer taste. They also happen to be my friends ( because style + taste are my two friendship pre-requisites ).

Before I left my job to go back to design school, I worked with Chris for several years, and since then, he's become a dear friend of mine. In fact, he has me to thank for his marriage to Cecilia, because without the necessary prodding of myself + our other co-worker, he may not have had the balls to ask her on a second date. Chris, YOU'RE WELCOME.

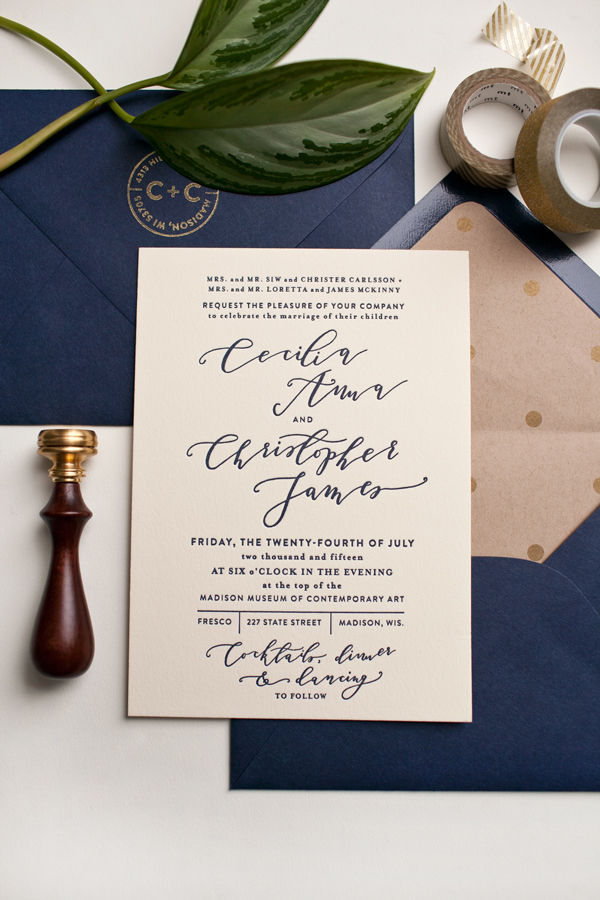
I absolutely loved working on their simple + modern 4-piece wedding invitation suite. Throughout the design process, I kept referring to J.Crew catalogs for inspiration because they encapsulated everything I wanted this suite to feel—classic and understated, elegant yet unique. We ended up choosing a navy blue + gold palette, and added lots of subtle accents, including edge painting the invitations gold ( see here ). The calligraphy took me many attempts to nail, but I love the way the lilting letterforms add a bit of quirkiness.

To finish, I letterpress-printed the suite on a C + P machine on super thick ecru Crane's lettra paper, then Cecilia's mom made the liners for those gorgeous navy blue envelopes. The full wedding suite should be revealed in my needs-to-be-updated portfolio soon.

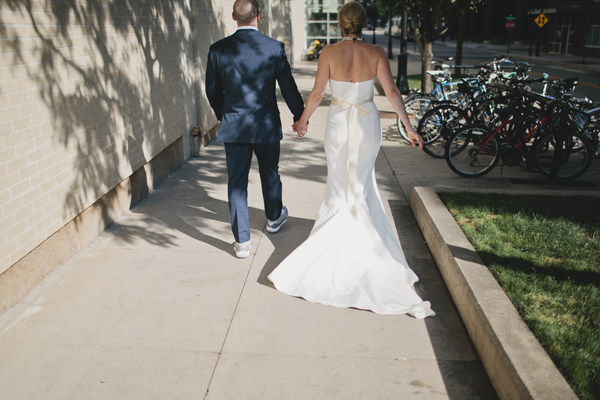
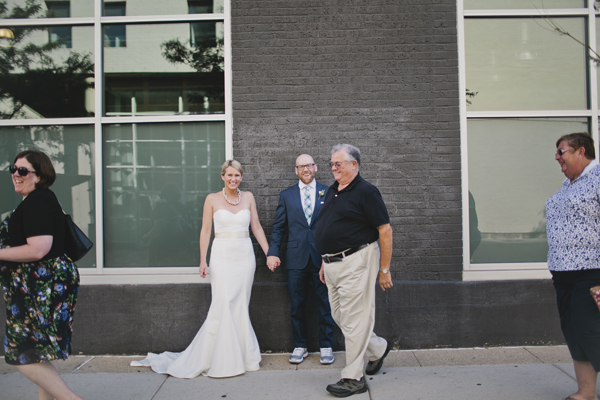
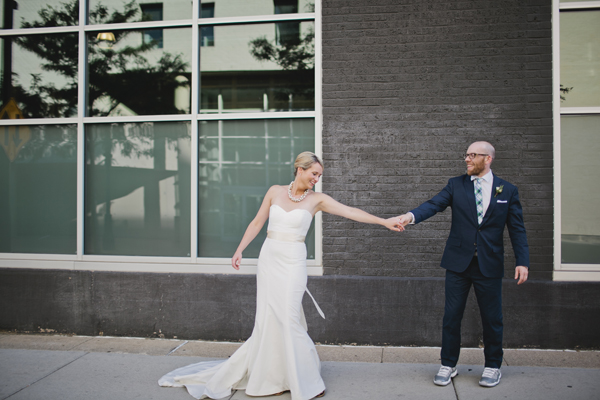
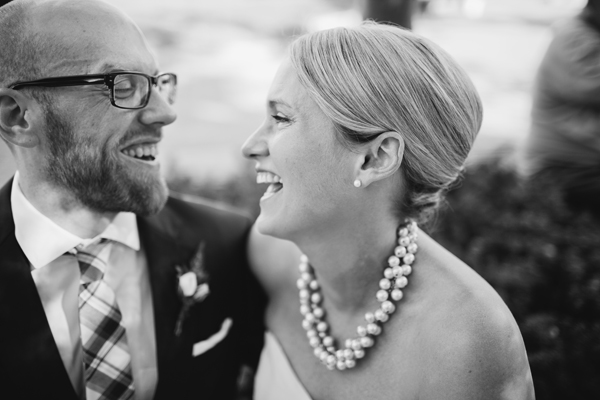
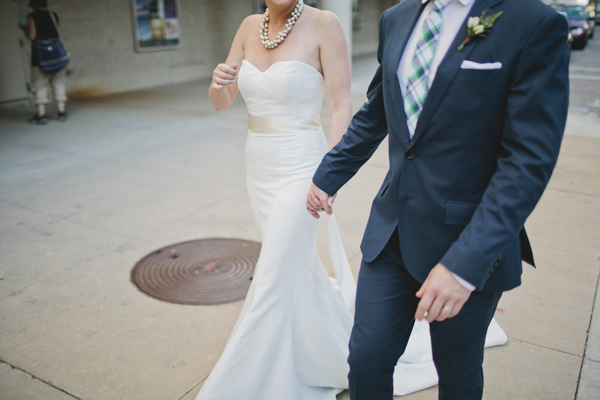
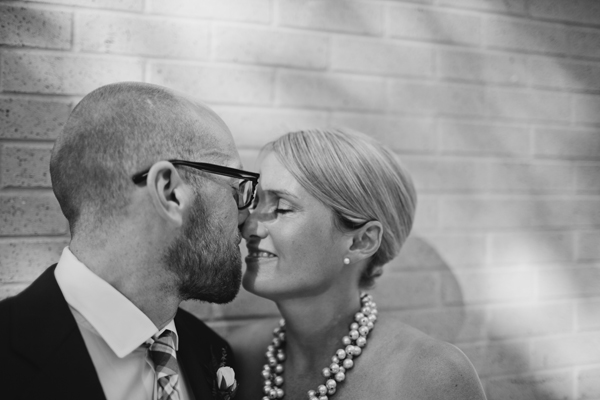
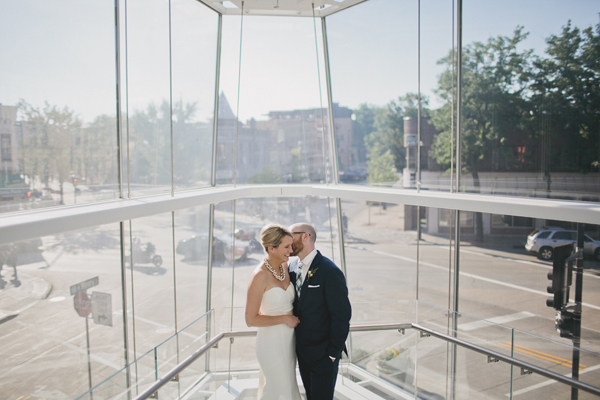
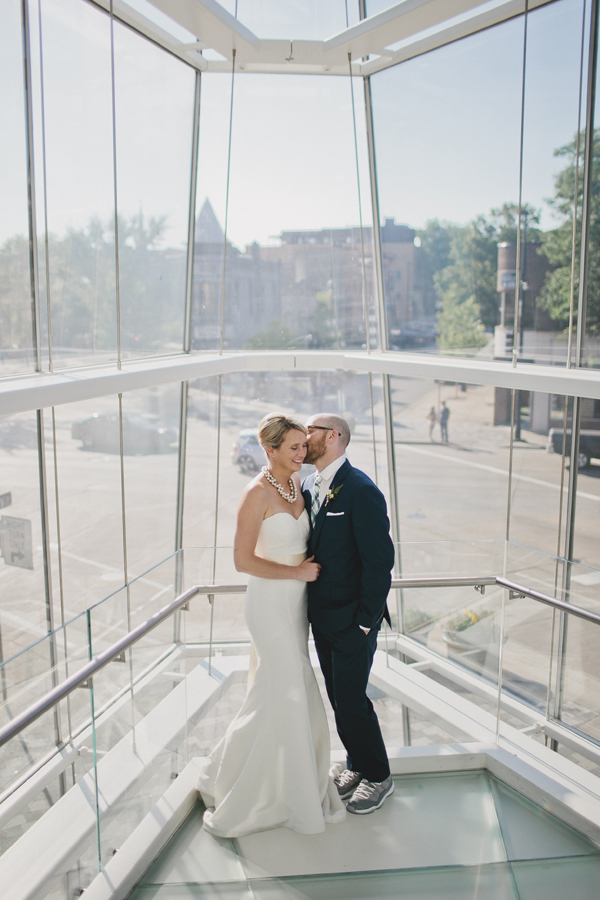
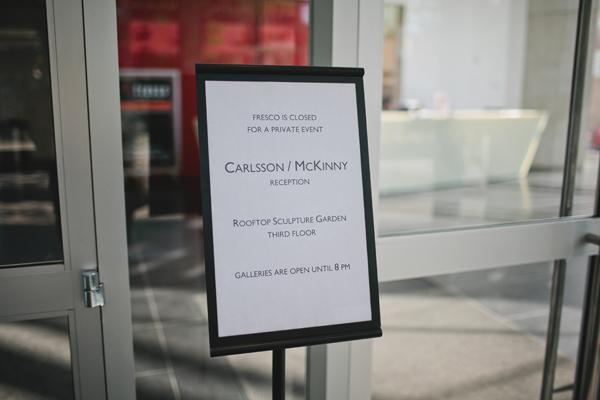
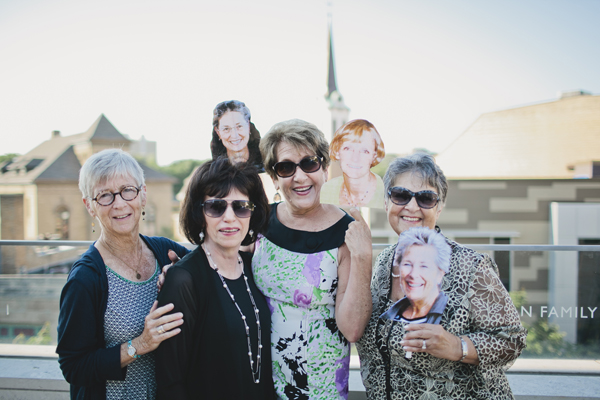
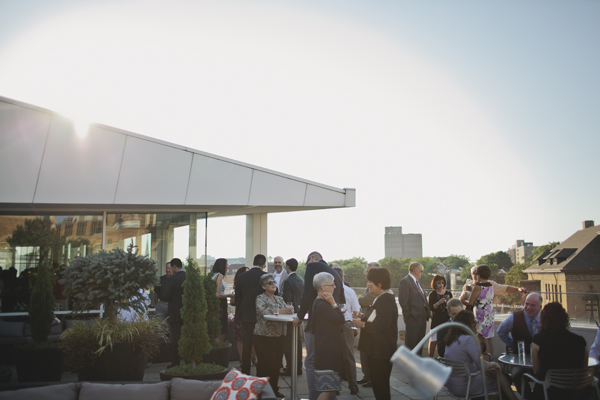
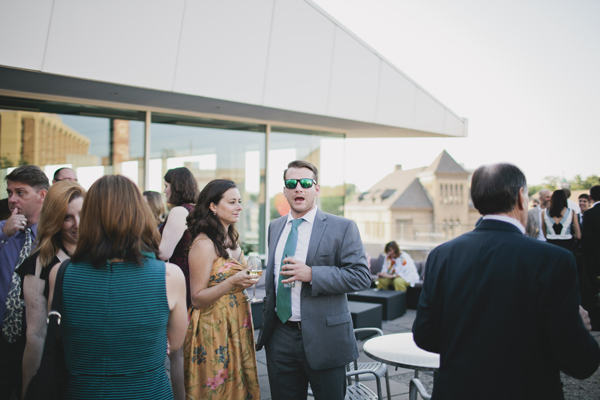
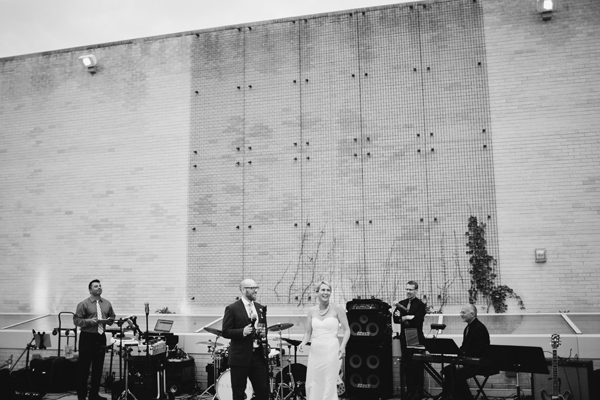
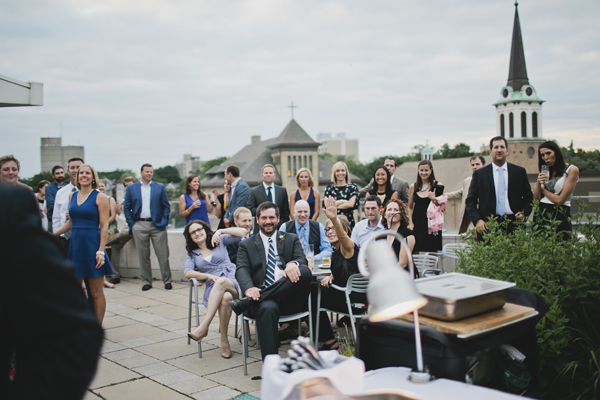
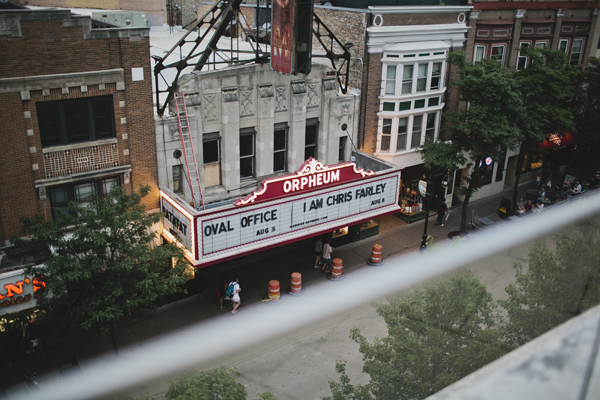
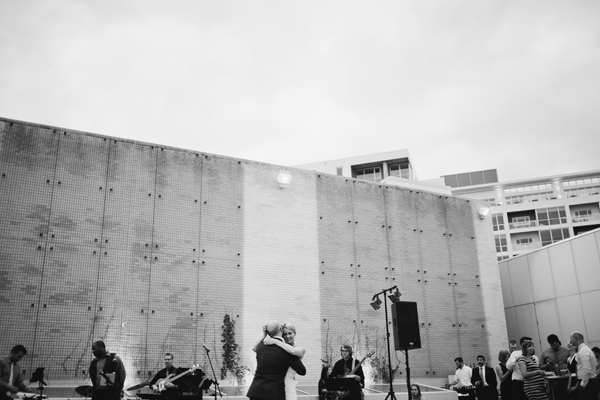
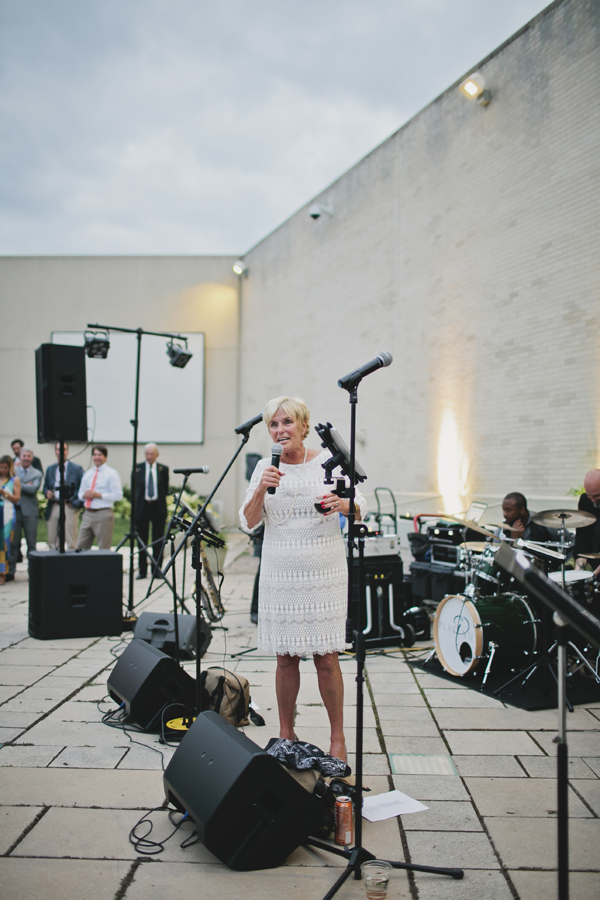
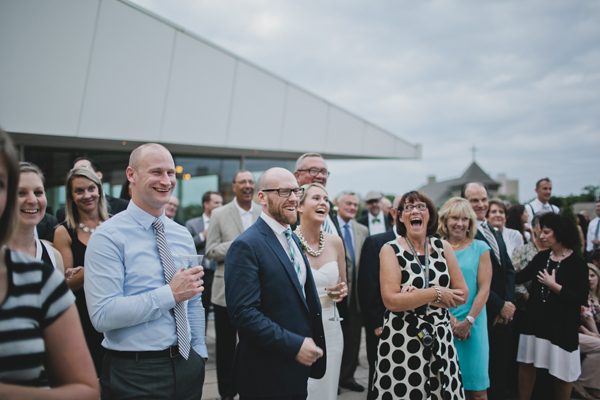
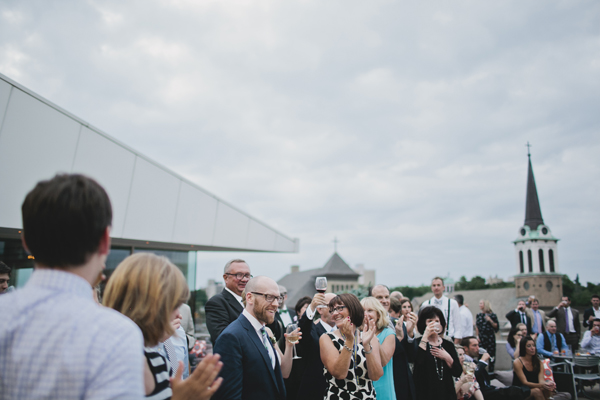
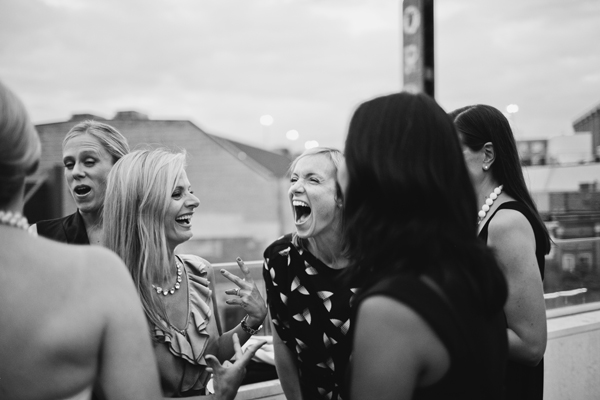
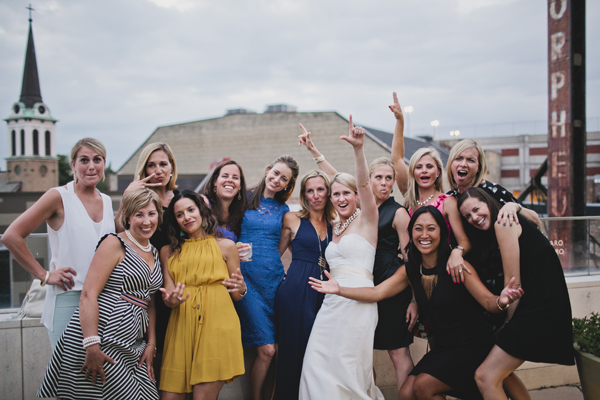
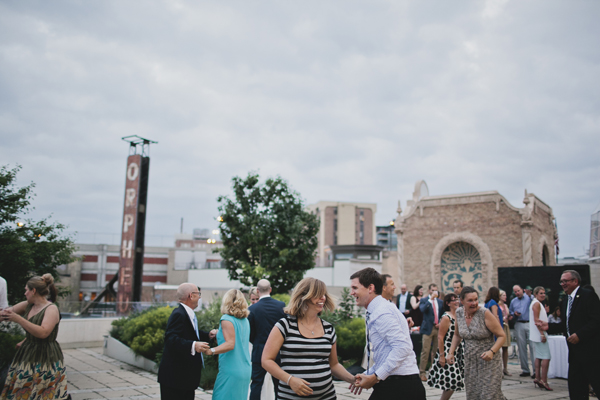
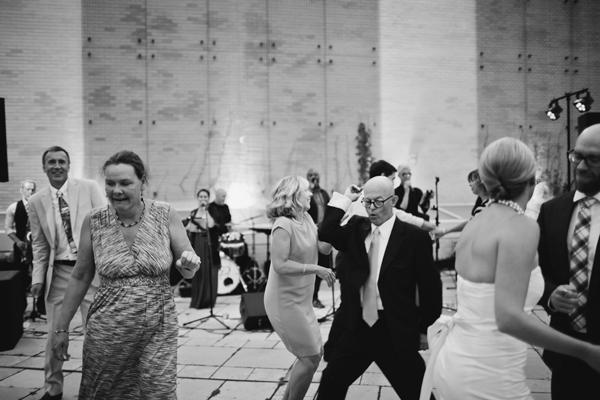
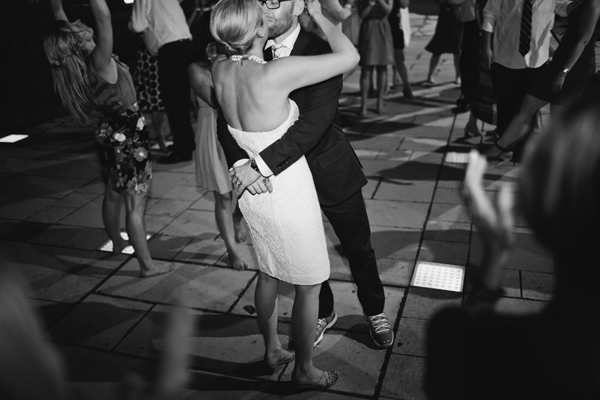
Also, I photographed their wedding reception!

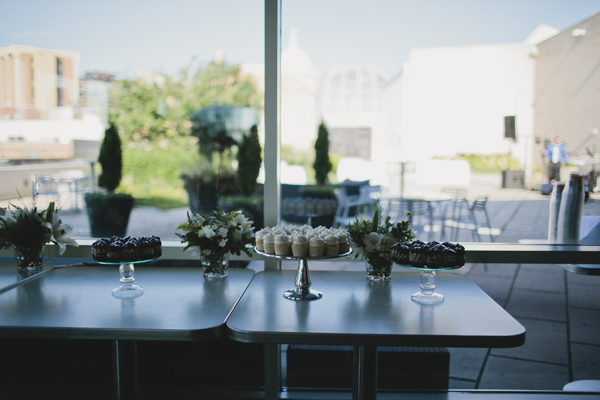
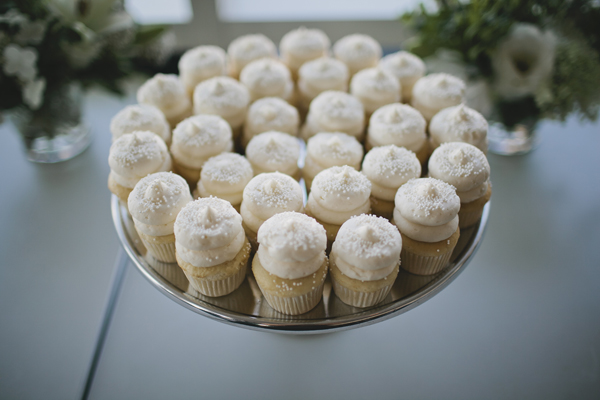
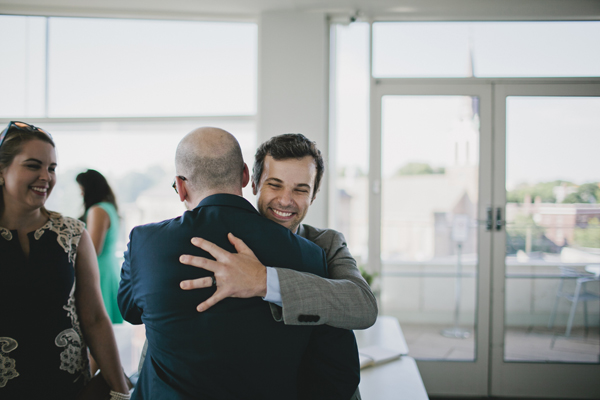
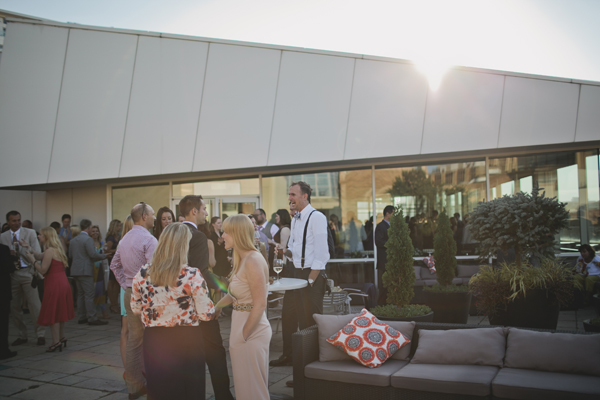
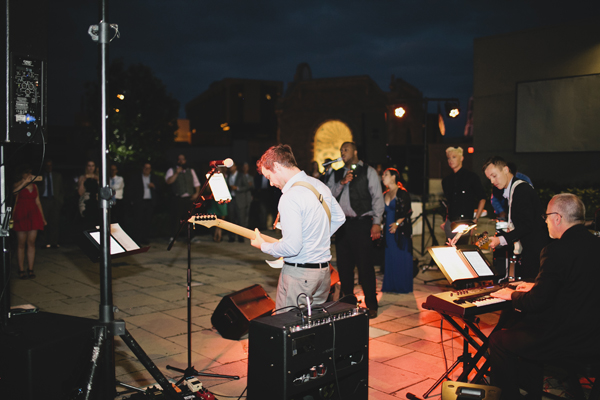
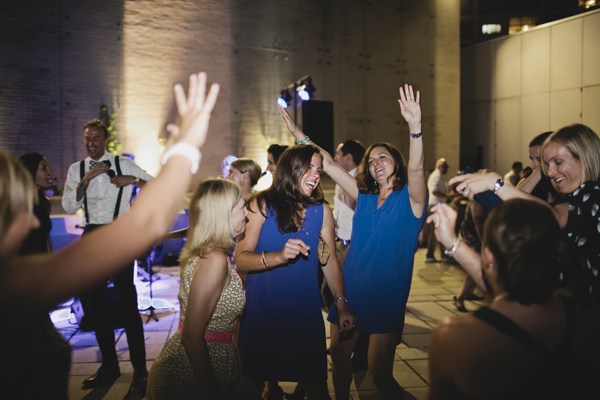
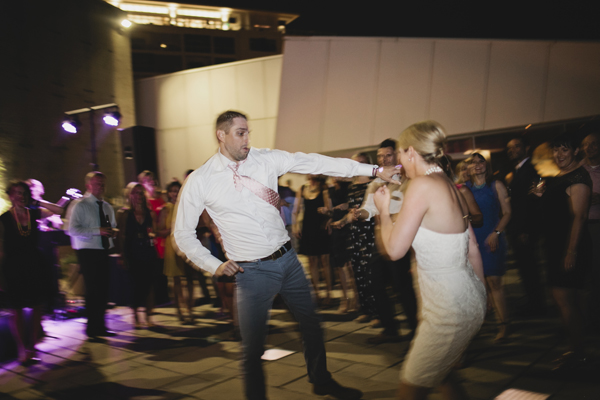
Here's a small snippet of the lively, laugh-filled + joyous evening. So much love for these two.
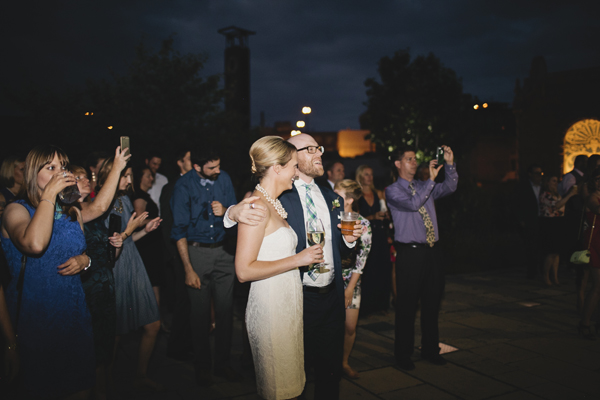
CCWedding2015-010_1CCWedding2015-013_1CCWedding2015-027_1CCWedding2015-035_1CCWedding2015-052_1CCWedding2015-059_1CCWedding2015-089_1CCWedding2015-095_1CCWedding2015-003_1CCWedding2015-098_1CCWedding2015-001_1 CCWedding2015-146_1 CCWedding2015-144_1CCWedding2015-101_1CCWedding2015-186_1CCWedding2015-168_1 CCWedding2015-190_1CCWedding2015-211_1CCWedding2015-195_1 CCWedding2015-217_1 CCWedding2015-229_1 CCWedding2015-233_1 CCWedding2015-244_1 CCWedding2015-255_1 CCWedding2015-269_1CCWedding2015-324_1CCWedding2015-320_1 CCWedding2015-331_1 CCWedding2015-378_1 CCWedding2015-369_1CCWedding2015-341_1 CCWedding2015-348_1CCWedding2015-402_1 CCWedding2015-406_1 CCWedding2015-410_1 CCWedding2015-428_1 CCWedding2015-441_1 CCWedding2015-454_1

June 14, 2015Comments are off for this post.

Berry Rhubarb Crisp

Berry Rhubarb Crisp | Hollis Anne

You may or may not know I used to have a food blog.

Technically, I still have a food blog, although it has sat quietly vacant in its tiny corner of the internet for more than a few years now. When I went back to school for design, I found myself less and less enthused to write the blog as my creative outlet shifted to learning as much as I could about design. That's kind of how it goes, I think. People, things, experiences + work often come into our lives for specific reasons—lingering long enough to teach us lessons, propel us on new paths or serve purposes we didn't even know our stirring souls needed.

In many ways, the blog set me up for the work I'm doing know. I'm constantly bewildered at the way life comes full circle in the oddest of ways. Things begin to make sense when I least expect them too. I don't get how it happens, but I'm not sure we're supposed to.

Sometimes people ask me if I'm "not into food" anymore, but that's just not the case. I think I love it more because I get to make other people's delicious recipes without worrying about developing my own. Plus, life is even better because I get to do work that combines both design + food. And the amount of gratitude I feel to be able to do work I love is overwhelming.

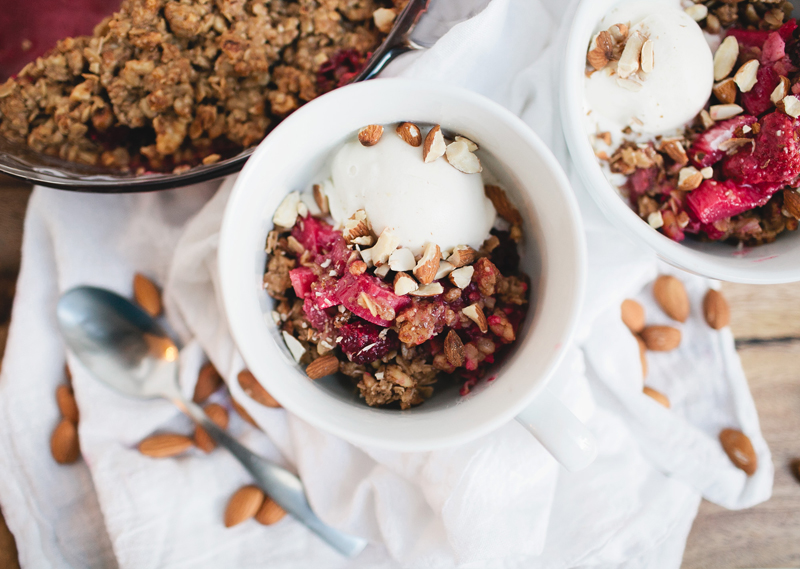
This Berry Rhubarb Crisp is an adaptation of one of my blog recipes, and I like it better than the original. Adding almonds to the crumble gives it such a crunchy, nutty bite; making the crisp one gazillion times more delicious. I made the mistake of baking it in a 10-inch pie pan (DON'T DO THAT). My pie pan quickly runneth over, and I spent far too much time cleaning sticky rhubarb juice from the bottom of my oven.

Please, don't make the same mistake I did, but most certainly—go and make some of your own.

Berry Rhubarb Crisp | Hollis Anne


BERRY RHUBARB CRISP ( GLUTEN-FREE )

4 cups ( about 4 to 6 stalks ) rhubarb, diced
4 cups mixed berries
3/4 cup sugar
3 tablespoons gluten-free flour*
juice + zest of one lemon
2 cups brown sugar
2 cups gluten-free oats
1 cup chopped raw almonds
1/2 cup gluten-free flour*
1/2 teaspoon baking soda
1/2 teaspoon baking powder
1/2 teaspoon salt
1 cup unsalted butter, chilled + cut into small cubes

Preheat the oven to 350 degrees.

In a medium bowl, toss rhubarb, berries, sugar, 3 tablespoons flour, juice and zest. Set aside.

In a large bowl, mix brown sugar, oats, 1/2 cup flour, baking soda, baking powder and salt. Cut butter into the dry ingredients with your fingers, until mixture is moist and crumbly.

In a greased 9×13-inch pan, pour rhubarb mixture into an even layer. Layer with oat crumble topping. Bake for 40 to 45 minutes or until crisp is golden brown. Serve with plain Greek yogurt, vanilla ice cream and/or extra chopped almonds, if desired.
*I like Minimalist Baker's DIY gluten-free flour blend or grinding gluten-free oats into flour.
**The reason I love this recipe is because you can adapt however you like. Make this recipe vegan by swapping the butter for cold coconut oil, or if you love gluten (as I do), replace the gluten-free flour with whichever flour you have on hand.

Berry Rhubarb Crisp | Hollis Anne

April 21, 2015Comments are off for this post.

GOING FREELANCE / 01

I get a lot of questions about freelancing.
How's it going? Do you have enough work? Are you working from home? Isn't working from home distracting? Be honest, are you really just listening to Beyoncé all day + having a dance party?

The answers : good ( most days ), thankfully yes, yes, sometimes and some days.
Pound real talk.

Honestly, I've discovered that working for yourself is about finding a whole lot of ways of doing things that don't work. The beauty of this process is that through trial + error, the things that do work, over time, reveal themselves to you. Slowly but surely, you become more confident in your abilities both as a designer ( or other professional ) and a business person. And perhaps best of all, you learn more about yourself + who you are EVERY DAY—what works best for you, when your best time of day is, where you work best, what your evil nemesis is ( finances! ), how to avoid your evil nemesis ( a good accountant! ), and most importantly, why you do what you do.

I'm chest-deep in this process and will likely be for good long while. I make a lot of mistakes. I apologize genuinely + profusely. And I always try to be better the next time around.

Freelancing isn't for everyone, but if you're thinking of making the leap, please know that if I can do it, anyone can do it. Out of the five steps I recommend you take to start freelancing, I only did two of them when I first started out.

There's hope for all of us, friends.


( 01 )

DEFINE YOUR GOALS

Before you even start thinking about making the jump to freelancing, I recommend sitting down with an old-school calculator and hammering out some concrete numbers.

How much do you need to cover your bare minimum monthly expenses? Ideally, how much income would you like to make a year? What is the current status of your emergency savings + retirement funds?

Remember, the general rule is to set aside 25% to 30% of your income for taxes, so factor that in. Once you calculate these numbers, you'll have a clearer sense of how much work you need to stay afloat + how much to charge. If you're working full-time, you can also start to put away more of your hard-earned benjamins and build up your savings for when you do make the jump.


( 02 )

TAP INTO YOUR NETWORK

It's pretty simple—nobody is going to hire you if they don't know you're looking for work. Putting yourself out there can be awkward and all sorts of middle school weird, but it's essential. Start by letting family + friends know you want extra freelance work, then do the same on social media. I recommend posting a piece or two of your work, so people can see you've got skillz. If you're on good terms, email old bosses and work connections. If there's an agency or company you love, grow some balls and write an email saying you dig their stuff. Agencies often hire freelancers, especially when things get busy, and if they like you, it's a promising sign for more work.


( 03 )

TRY SOMETHING NEW

When you're starting out, every single talent you possess must be leveraged. Honestly, it's the only reason I've survived this long. When I first started out, I took freelance writing jobs and said yes to freelance photography work, even though I felt so unqualified for it. These jobs helped pay the bills as I finished my last year of school, as well as expanded my skill set and marketability. Whether it's writing, photography, blogging, social media, marketing, communications or stripping ( hey, no judgment ), every talent you have can and will help you start living the freelance life.


( 04 )

ORGANIZE YOUR BUSINESS

This is the one that I wish ( so hard ) that I had paid more attention to when I first started out. Getting the back end of your business together + tidy is one of the best things you can do to set yourself up for long-term success. It becomes so much easier to manage your day-to-day tasks—from email to incoming inquiries to getting PAID.

Register for an LLC ( or other business entity ) so you're legit. In Wisconsin, you can do this online at the Department of Financial Institutions. Most other states have a similar process.

Find a good small business accountant. They will be your savior.

Make business templates. I'm talking contracts, invoices, project proposals, FAQs, pricing guides, email templates, etc. They save you so much time.

Set up an invoicing, payments + expenses tracking system that works for you.

Get a website and online portfolio, stat! If you're a designer, Behance and Dribbble are great for showcasing your work. Personally, I've had a handful of freelance inquiries via Behance.


( 05 )

DON'T WORK TOO HARD

Making the transition from full-time to freelance is most likely going to require getting home from putting in an 8-hour day then doing at least a few more hours of work. It's hard. It often sucks. But it's necessary to making the big leap. That being said, don't work too hard or put undue pressure on yourself. It takes time to make the jump to freelance, and working yourself brain dead only means your work suffers, which is the very thing that's going to get you hired. And yes, this is the piece of advice that I need to take from myself most of all.

Like I said, I'm still learning.